Using DAM tool, we can manage the digital asset centrally. Sitecore has connector to use digital assets placed in Sitecore Content Hub.
In this blog, we would talk about how you can configure the Sitecore to use the digital assets available in the Sitecore Content Hub.
Prerequisite:
- Sitecore Connect for Content Hub XP 10.1
- Access to Sitecore Content Hub 4.0 (Sitecore Content Hub Sandbox access)
Configure on Sitecore Content Hub - DAM
Since the digital assets placed on Sitecore Content Hub and it would be access via its public URL. These assets would be used by another portal, so have to configure CORS.
CORS Configuration
Step-1 Login to Sitecore Content Hub sandbox and open Manage page.
Step-2 Open Settings page.
Step-3 On the left navigation, select PortalConfiguration -> CORSConfiguration.
Step-4 Add Sitecore Instance URL. In case of production site, you have to enter production domain name. You can add multiple domain names here: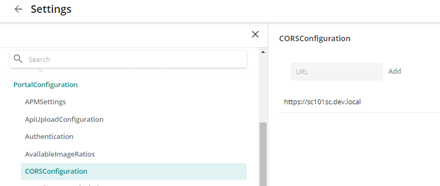
Step-5 Click on Save.
Redirection Setting Configuration
You must configure the redirection setting within the PortalConfiguration of Sitecore DAM to allow the Sitecore instance to access/display the Sitecore DAM.
Step-1 Open Manage page and select Settings.
Step-2 Click on PortalConfiguration -> Authentication
Step-3 Select Text from the dropdown and change the value to Passive of authentication_mode.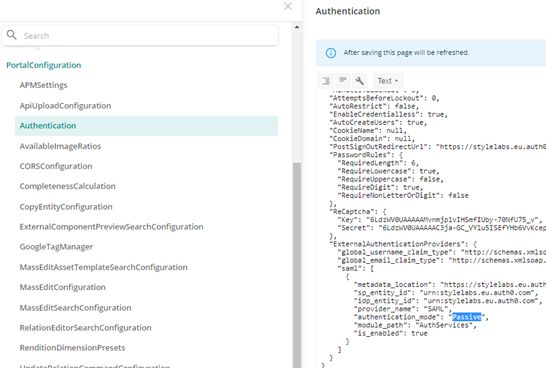
Step-4 Save the configuration.
Now you completed the setting from the Content Hub side. Next need to configure Sitecore.
Installing & Configure Sitecore Connect for Content Hub
Step-1 Install Sitecore Connect for Content Hub page
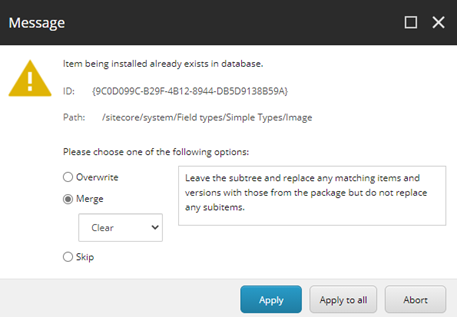
During installation, you will get popup item already exist. Select Merge and Apply in case of following two items:
- Item Id: {9C0D099C-B29F-4B12-8944-DB5D9138B59A}
Path: /sitecore/system/Field types/Simple Types/Image - Item Id: {F68FD2D3-1E54-4535-8FB4-85E101A4968B}Path: /sitecore/system/Settings/Validation Rules/Field Types/Image
Step-2 Add the following connection string inside the Sitecore connectionString.config file:
<add name="DAM.SearchPage" connectionString="<Sitecore Content Hub search page URI>" />
<add name="DAM.ExternalRedirectKey" connectionString="Sitecore" />
Sitecore Content Hub URI: Your Sitecore content Hub Sandobx DAM instance.
Sitecore Content Hub Search page URL:
Step-3 Open the web.config file available on the root folder and change the existing Content-Security-Policy tab with the below one:
Replace https://content-hub-url.stylelabs.com with your content hub instance URL in the above value.
Now you are ready to use Sitecore Content Hub DAM digital assets in your Sitecore.
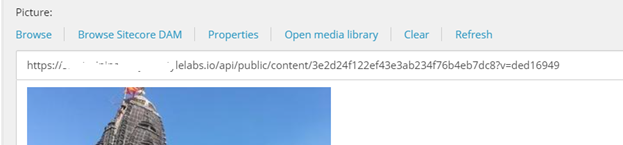
You should open any of the item having fields of type Image. Here you can see the option Browse Sitecore DAM. Click here to open and select the image from the Sitecore DAM. Here you can see all the approved digital assets.
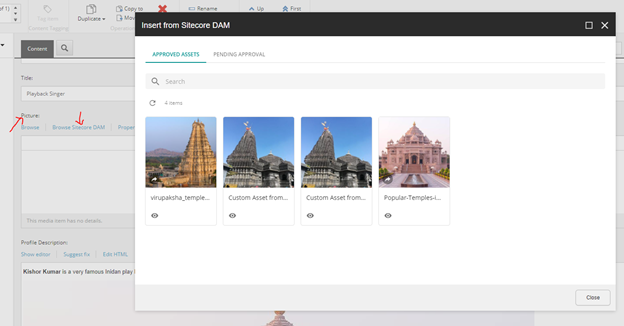
Select the image and click on the save to generate the public link for the selected image. Click on Select button at the end for final selection.
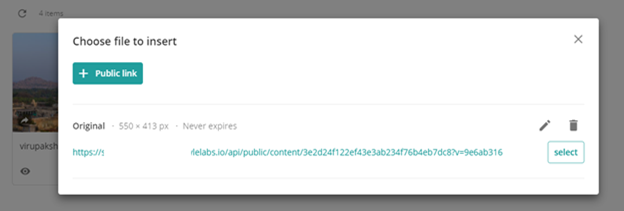
You can see the content hub public URL on the Sitecore field.
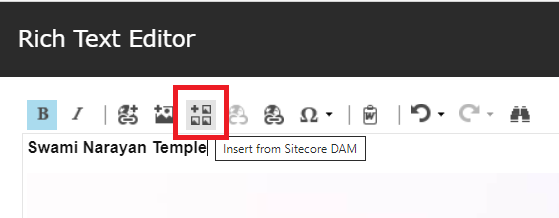
Other way of using the Content Hub digital assets is in Rich Text field. Click on the below highlighted icon to open the Insert From Sitecore DAM dialog box.
References:
SITECORE CLI LOGIN ERROR - /.well-known/openid-configuration: Bad Gateway
WALKTHROUGH OF ASP.NET RENDERING SDK
SETTING UP ASP.NET RENDERING SDK
DISABLE SITECORE PUBLISHING SERVICE
SETUP SITECORE PUBLISHING SERVICE
SITECORE CONNECT CONNECTOR - CONTENT HUB